From Concept to Commissioning: How a Customized Overhead Crane Is Designed and Built
When you watch an overhead crane glide across a bay and lift a heavy load, it looks simple. What most people don’t see is the amount of work that happens before that first lift. A custom overhead crane is never an off-the-shelf product. It’s designed specifically for the building, the load, and the application.
At G.W. Becker, Inc., the process follows a clear path: define the need, design the system, build it with precision, and verify it through testing. Each step has a purpose, and understanding how those steps connect can help anyone involved in planning or managing a crane project make better decisions.
Step 1: Defining the Scope
The first step is discovery. Before drawings or quotes, the project team meets with the customer to understand what the crane will do day to day. That means discussing the specific application load weights, lifting frequency, operating speeds, the building’s dimensions, and the surrounding environment.
Those answers drive major design choices like CMAA class, span, lift height, and hoist duty rating. The Crane Manufacturers Association of America (CMAA) defines six service classes, from A for standby service to F for continuous severe service. Picking the right duty cycle is not just about compliance. It determines the structure, components, and how long the crane will perform without excessive wear with proper preventative maintenance and regular scheduled inspections.
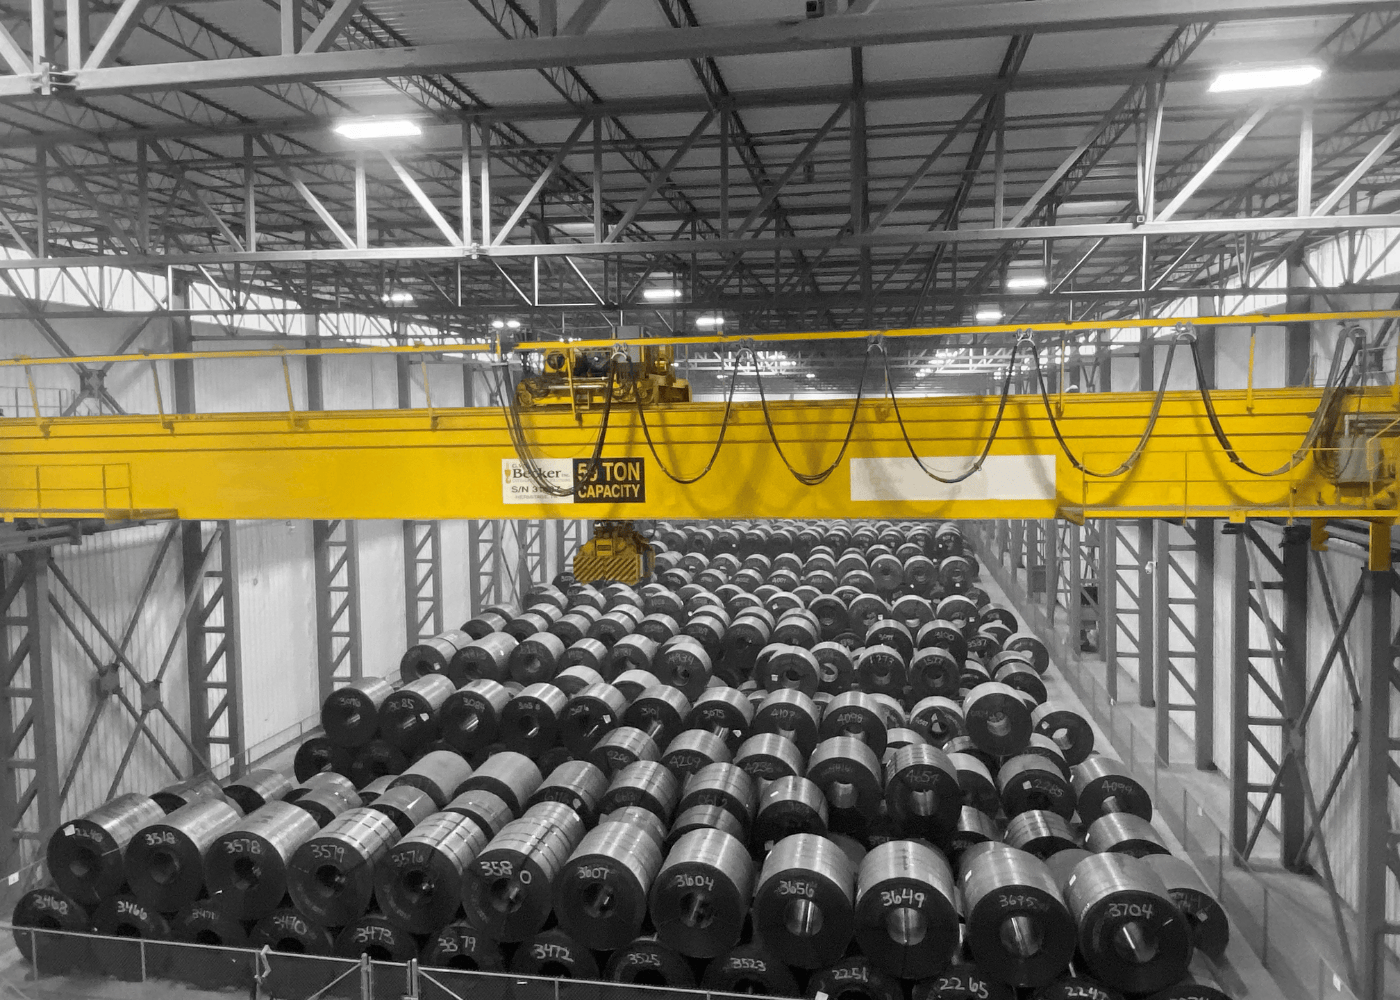
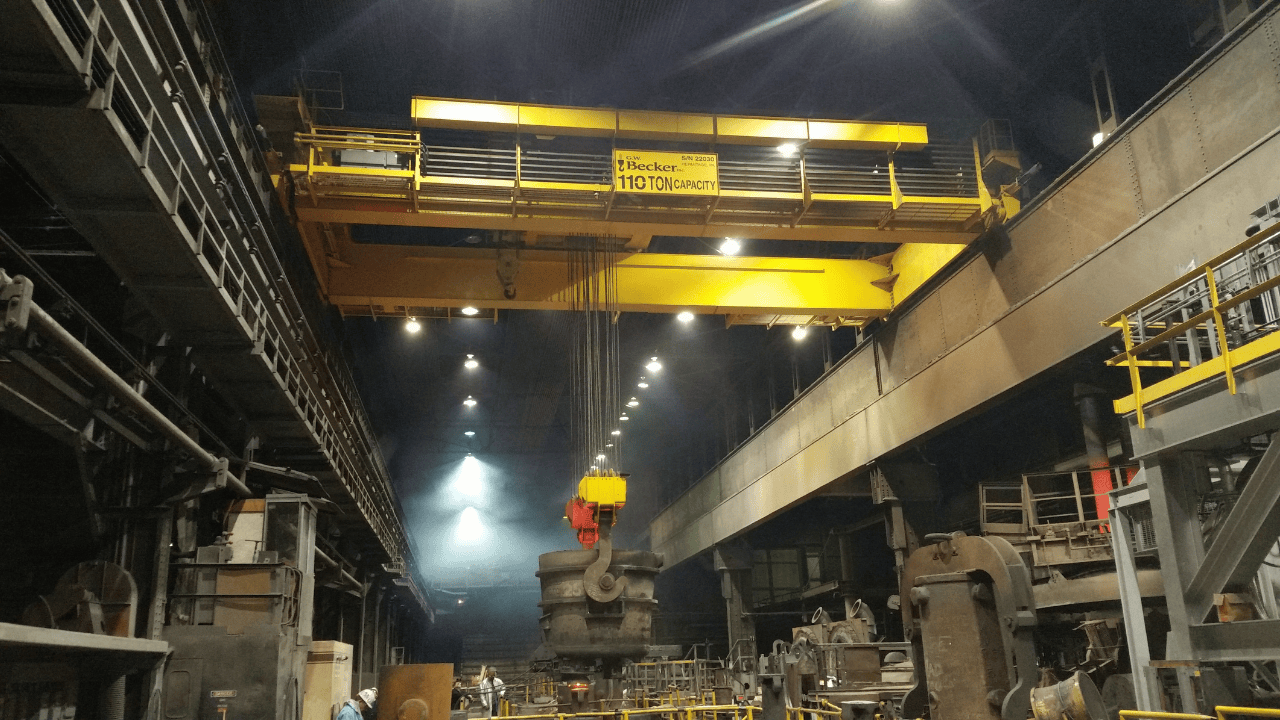
For example, a crane in a maintenance shop might fall under Class C for moderate use. A crane with a coil handling application or a mill duty crane could need Class E or F to handle constant heavy-duty cycles. Getting this right up front prevents future downtime and costly repairs.
The same applies to configuration. Some facilities need a top-running double-girder crane for higher lift height. Others may choose an under-running single-girder design to save space or reduce building loads. Once these parameters are defined, engineering begins.
Step 2: Engineering and Design
This is where concept becomes design. Mechanical, and electrical engineers work together from the start to make sure every part of the system fits and functions as one. Our engineers can customize your crane to fit your facility’s needs.
The structural design covers the girders, end trucks, and runway interface. Engineers use software such as STAAD.Pro and Autodesk Inventor to model deflection, wheel loads, and stresses. Every calculation follows standards from CMAA, AIST Technical Report #6, and the American Welding Society. The goal is to ensure the crane carries its rated load safely and predictably.
Mechanical design handles the moving parts: trolley, hoist, drums, sheaves, end trucks, load blocks/hooks, gearboxes, drives, couplings, brakes, and wheels. These components are selected and sized to match the speed, duty cycle, and load profile of the application.
Electrical design defines how power and control are delivered. Variable frequency drives, limit switches, overload protection, and radio controls are all integrated to create smooth, efficient motion. Every electrical design must also comply with the National Electrical Code and OSHA safety regulations.
")
The engineers also analyze the building’s structure. The runway beams and support columns must handle wheel loads safely. If the runway structure requires reinforcement, it’s addressed before the crane’s fabrication process.
Step 3: Customer Review & Approval
Before anything moves into production, your team reviews the application details to confirm the packaged crane is the right fit. This step ensures the crane configuration aligns with how the equipment will be used in the real world, not just on paper.
Capacity, span, lift height, duty classification, and operating environment are reviewed to verify compatibility with standardized packaged crane designs. If special conditions are present, such as temperature extremes, hazardous locations, or unique control preferences, those requirements are identified early so the correct components are selected.
This upfront review helps prevent oversizing, undersizing, or unnecessary customization while ensuring the crane meets CMAA service class requirements and performs reliably in daily operation.

Step 4: Materials Procurement
Once the packaged crane configuration is finalized, materials are released for purchasing. Standardized crane designs allow your team to source proven components quickly while maintaining consistency and quality across every build.
Steel, electrical components, controls, runway-related parts, and bulk materials are ordered through established supplier relationships. This approach helps control lead times, ensure component compatibility, and maintain compliance with CMAA service class requirements.
By leveraging pre-engineered specifications and trusted vendors, procurement moves efficiently without delays caused by redesign or custom component sourcing. This step plays a critical role in keeping packaged cranes on schedule while ensuring every component meets performance and reliability expectations.

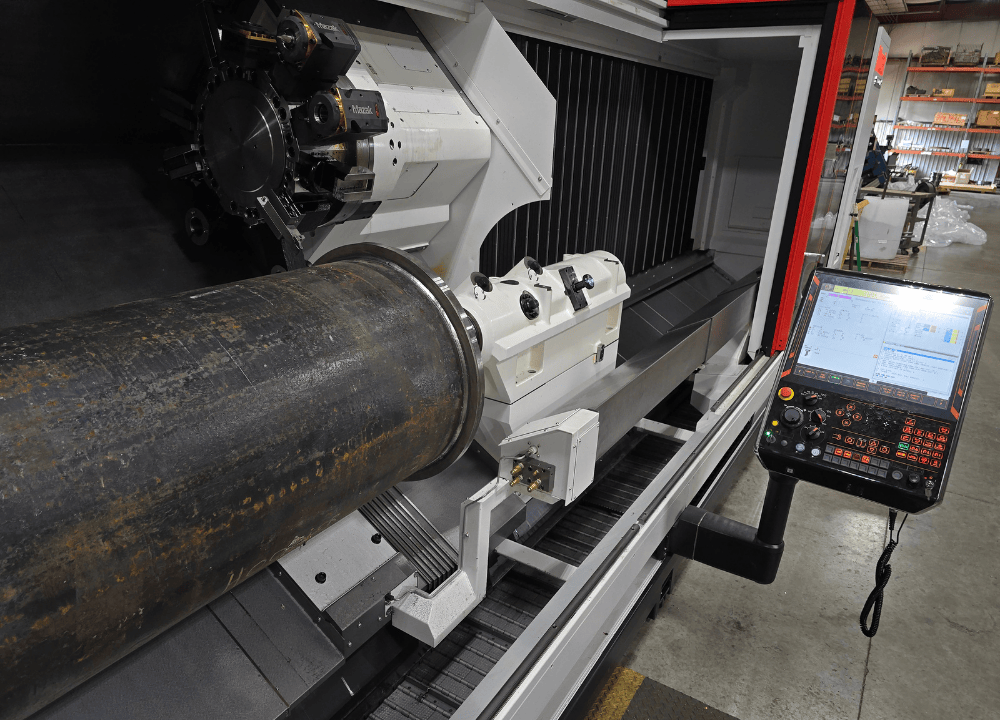
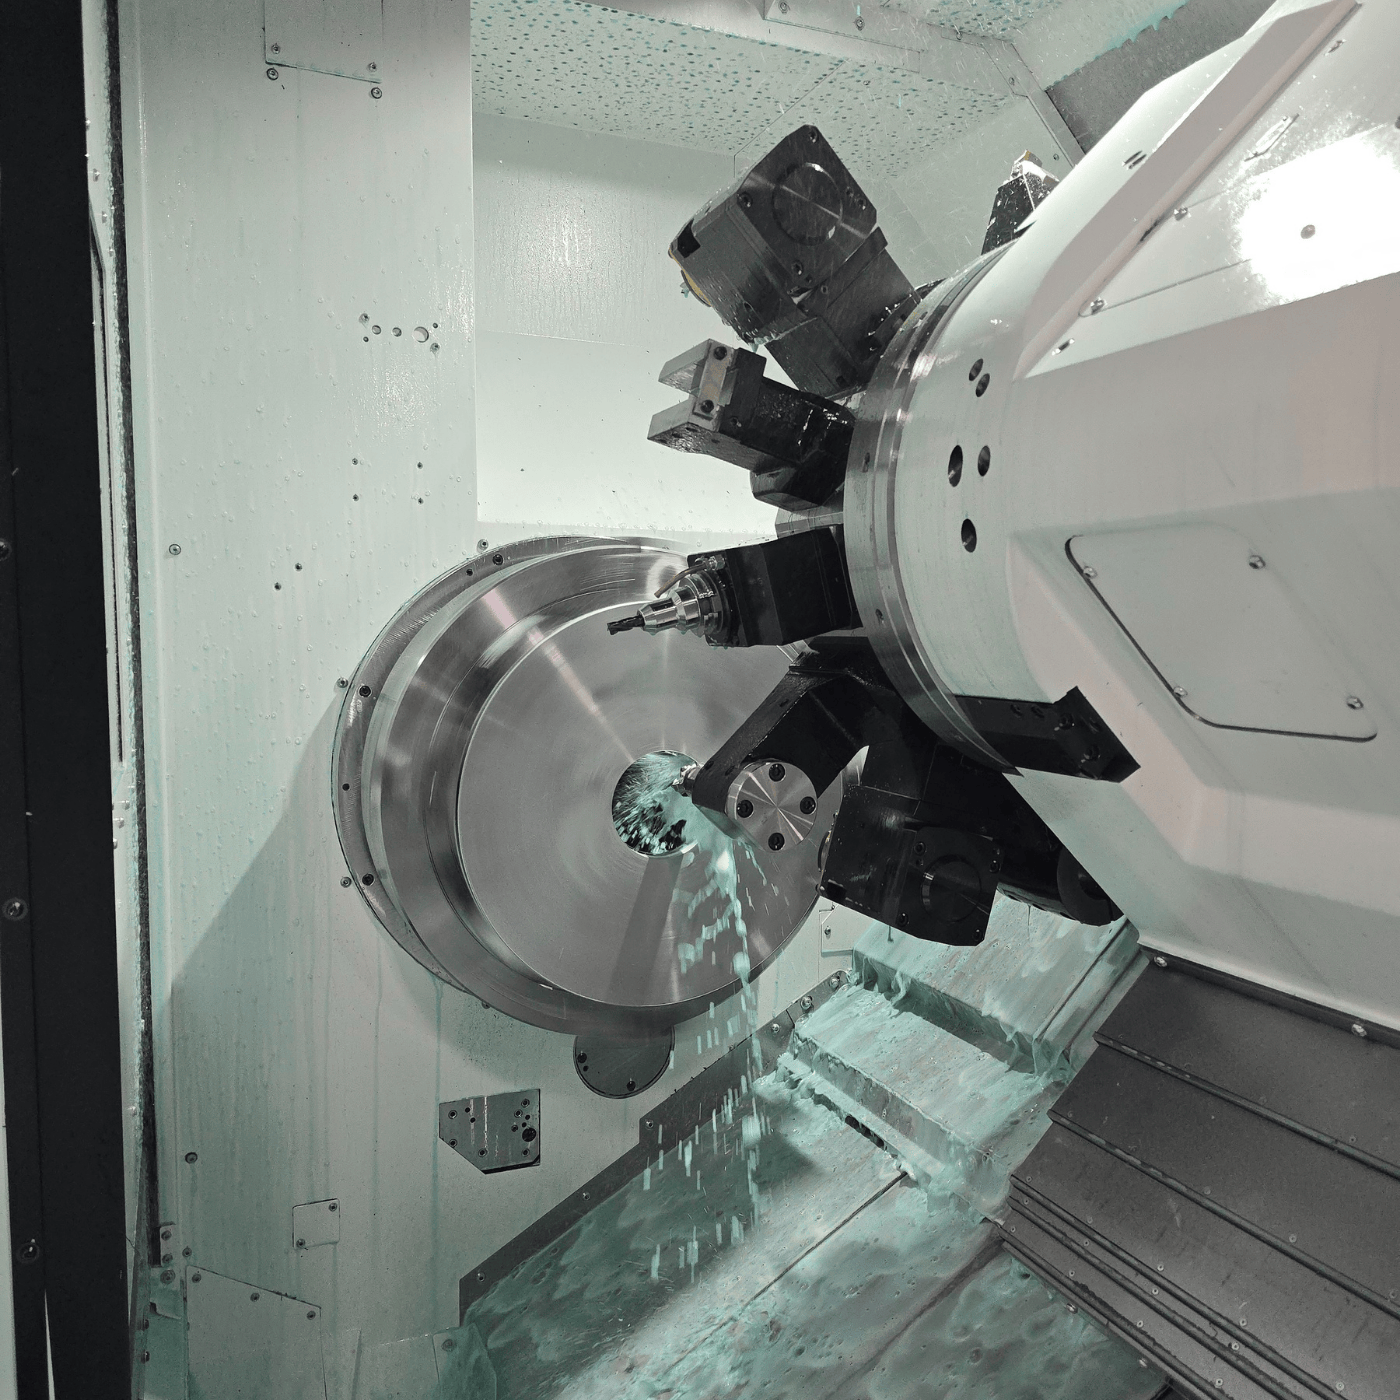
Step 5: Fabrication and Machining
Once drawings are approved, and materials are recieved, fabrication begins. At G.W. Becker’s 72,000-square-foot facility in Hermitage, Pennsylvania, steel starts to take shape of an overhead crane.
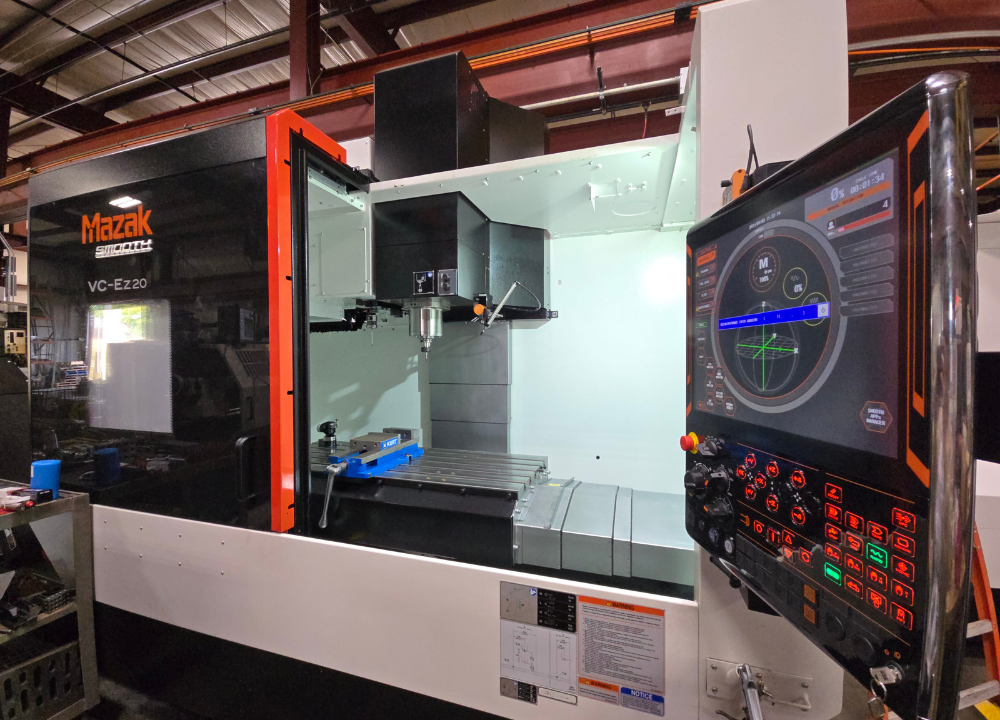
Bridge girders are fabricated from heavy plate steel and welded into box sections, or I beams, and processed based on application design, depending on the span and capacity. End trucks, wheel assemblies, drums, sheaves, load blocks, hooks, trolley base, hoists, and other mechanical components are machined in-house. Certified welders follow AWS D1.1 & D14.1 standards, and every weld is inspected and recorded.
Throughout fabrication, quality checks are continuous. Dimensional inspections confirm component tolerances before parts move to assembly. Even a few millimeters of deviation can cause alignment issues later, so precision at this stage is essential.
After fabrication, the steel is cleaned, primed, and painted. The coating depends on the environment, from standard enamel for indoor plants to epoxy finishes for high heat, outdoor or corrosive applications.
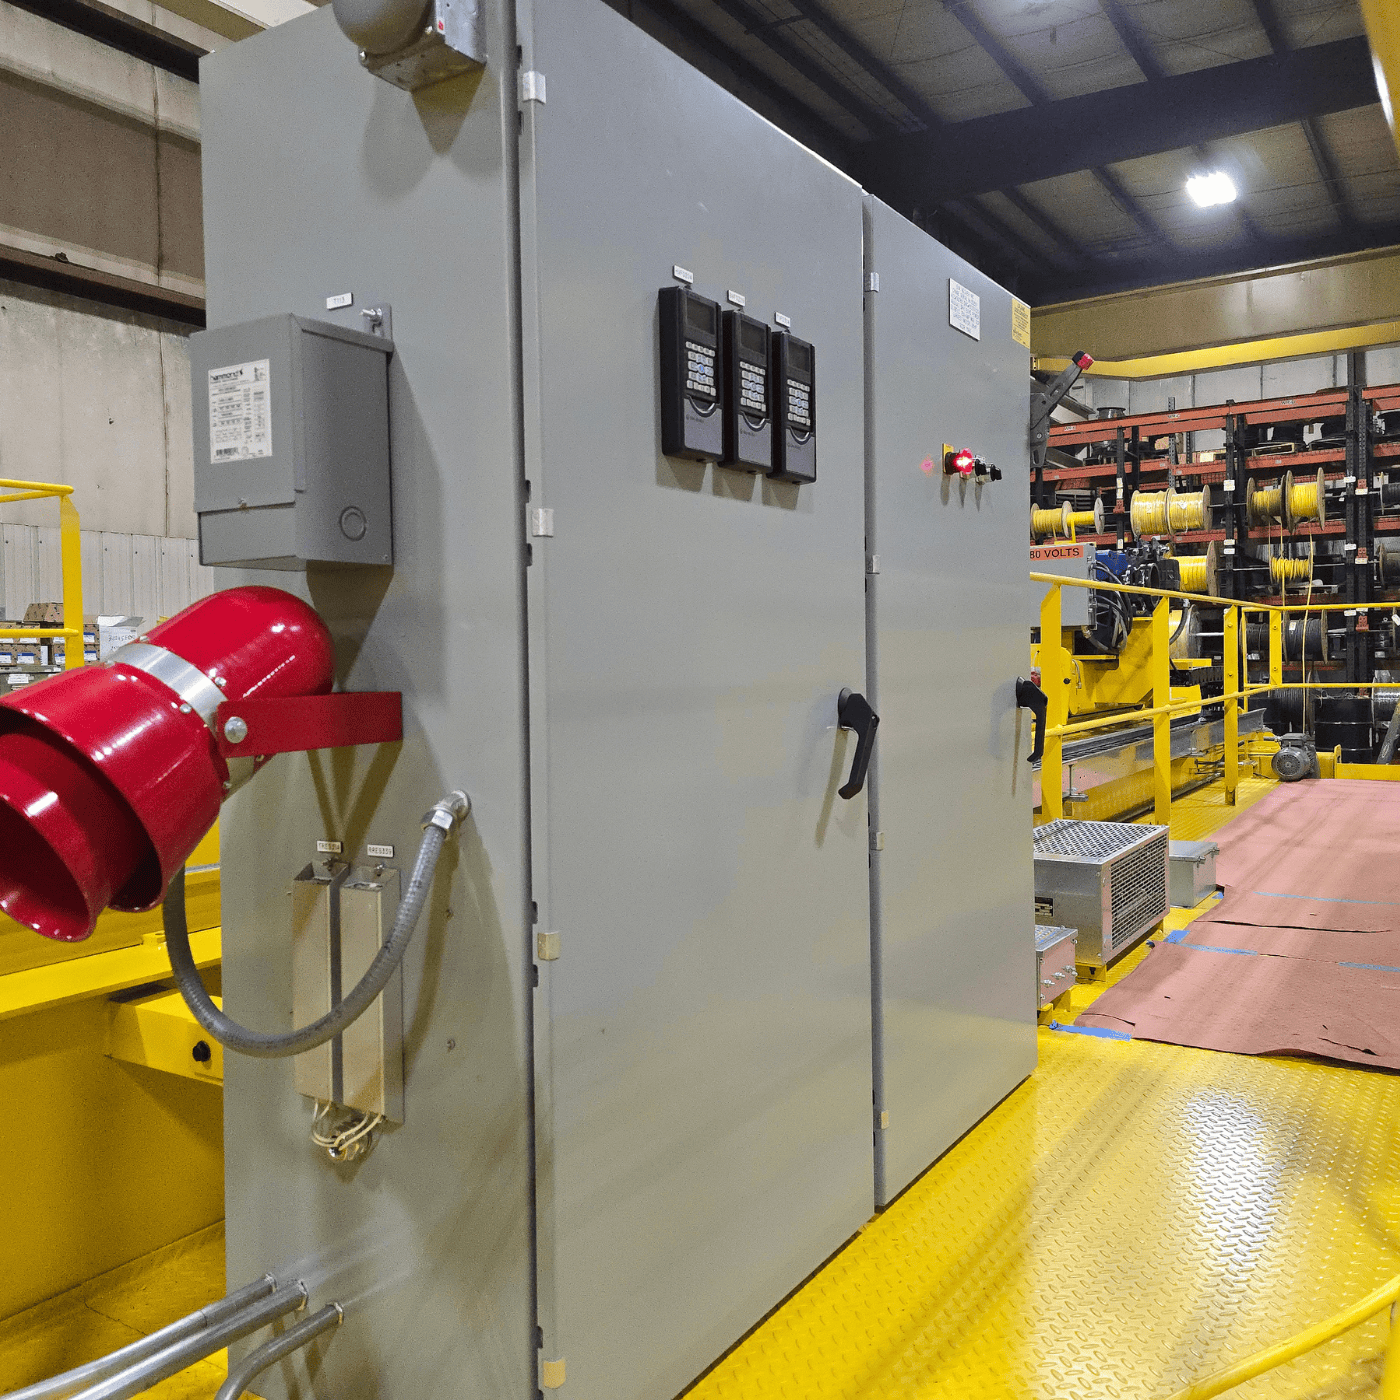
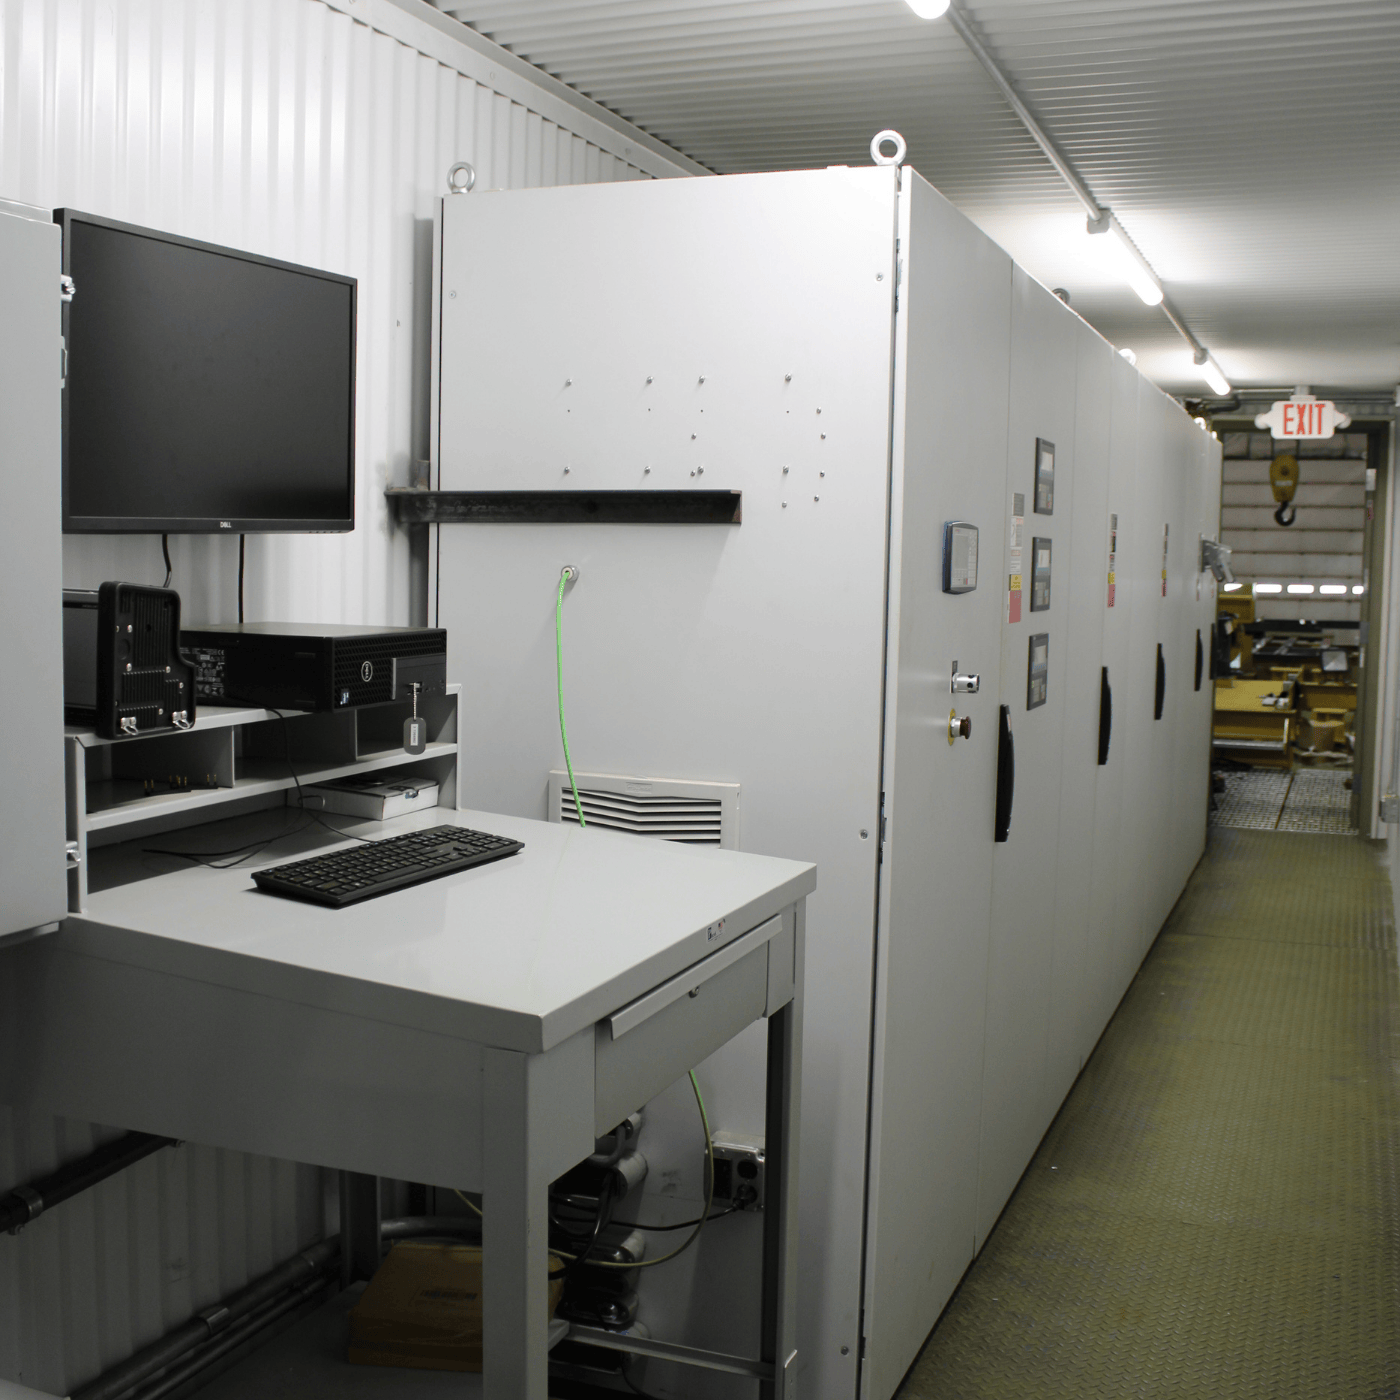
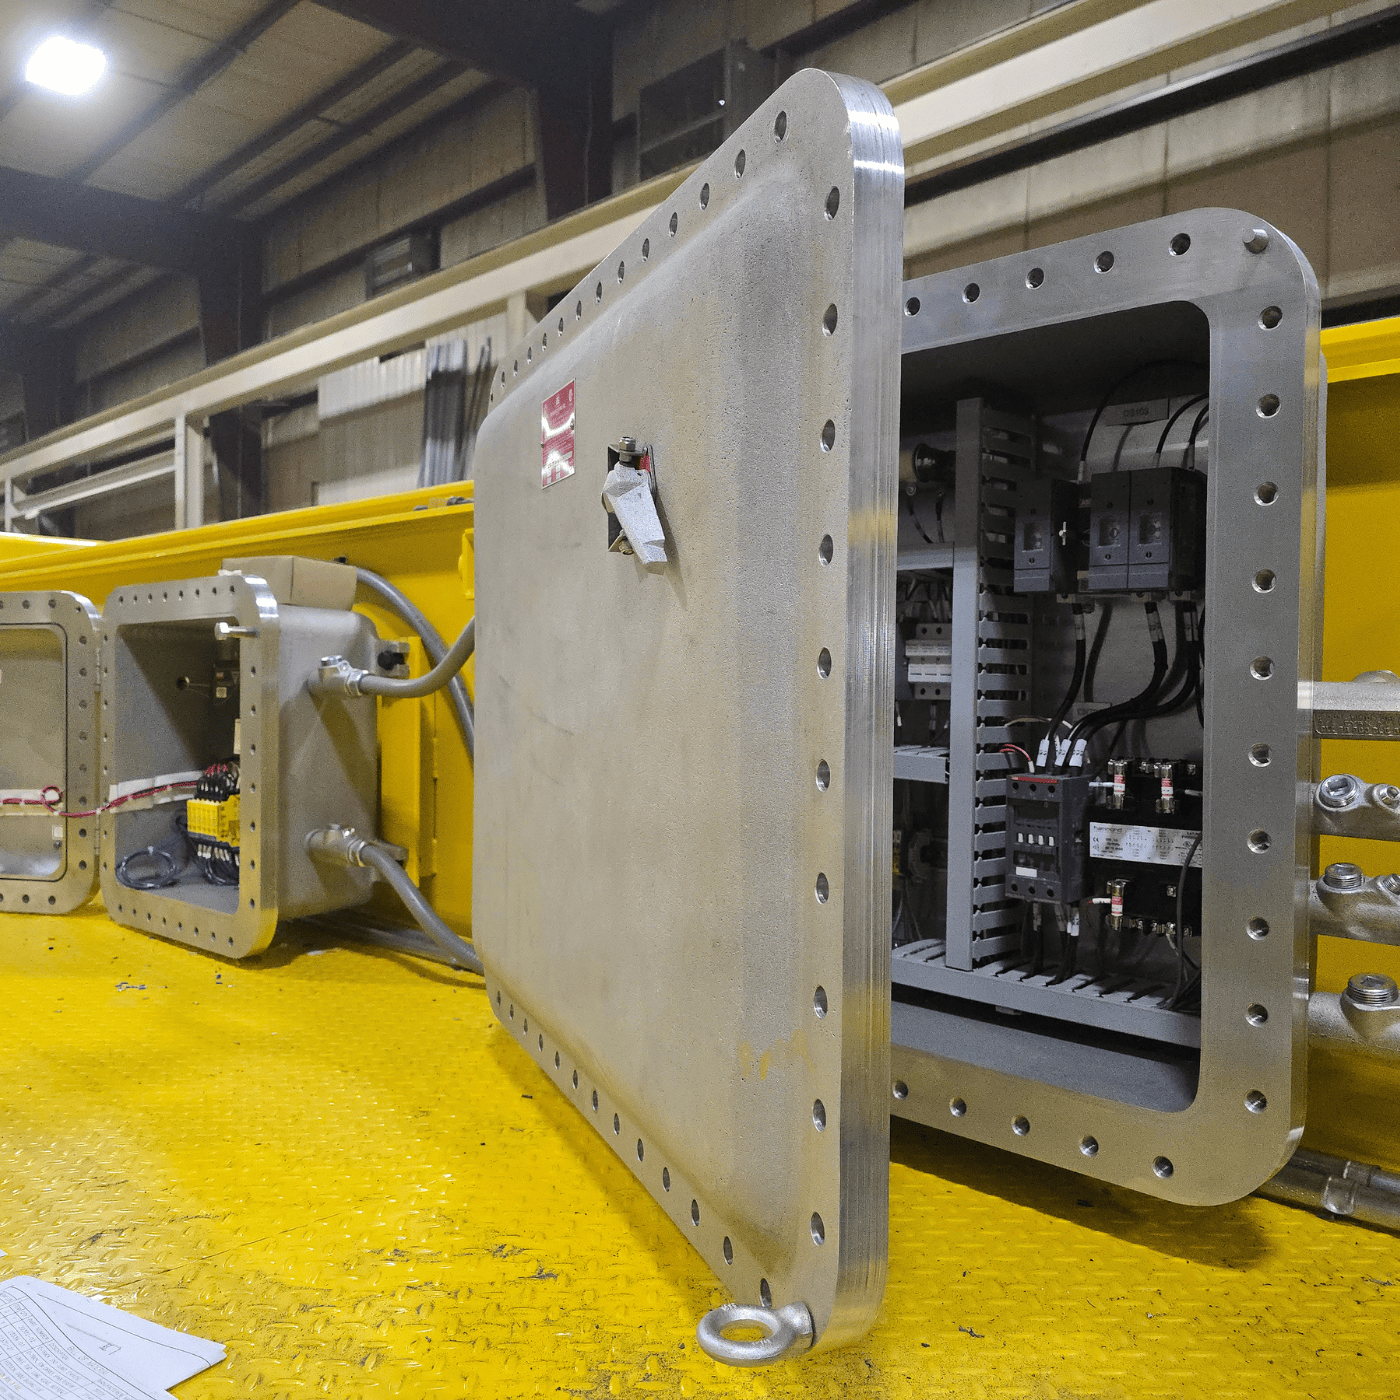
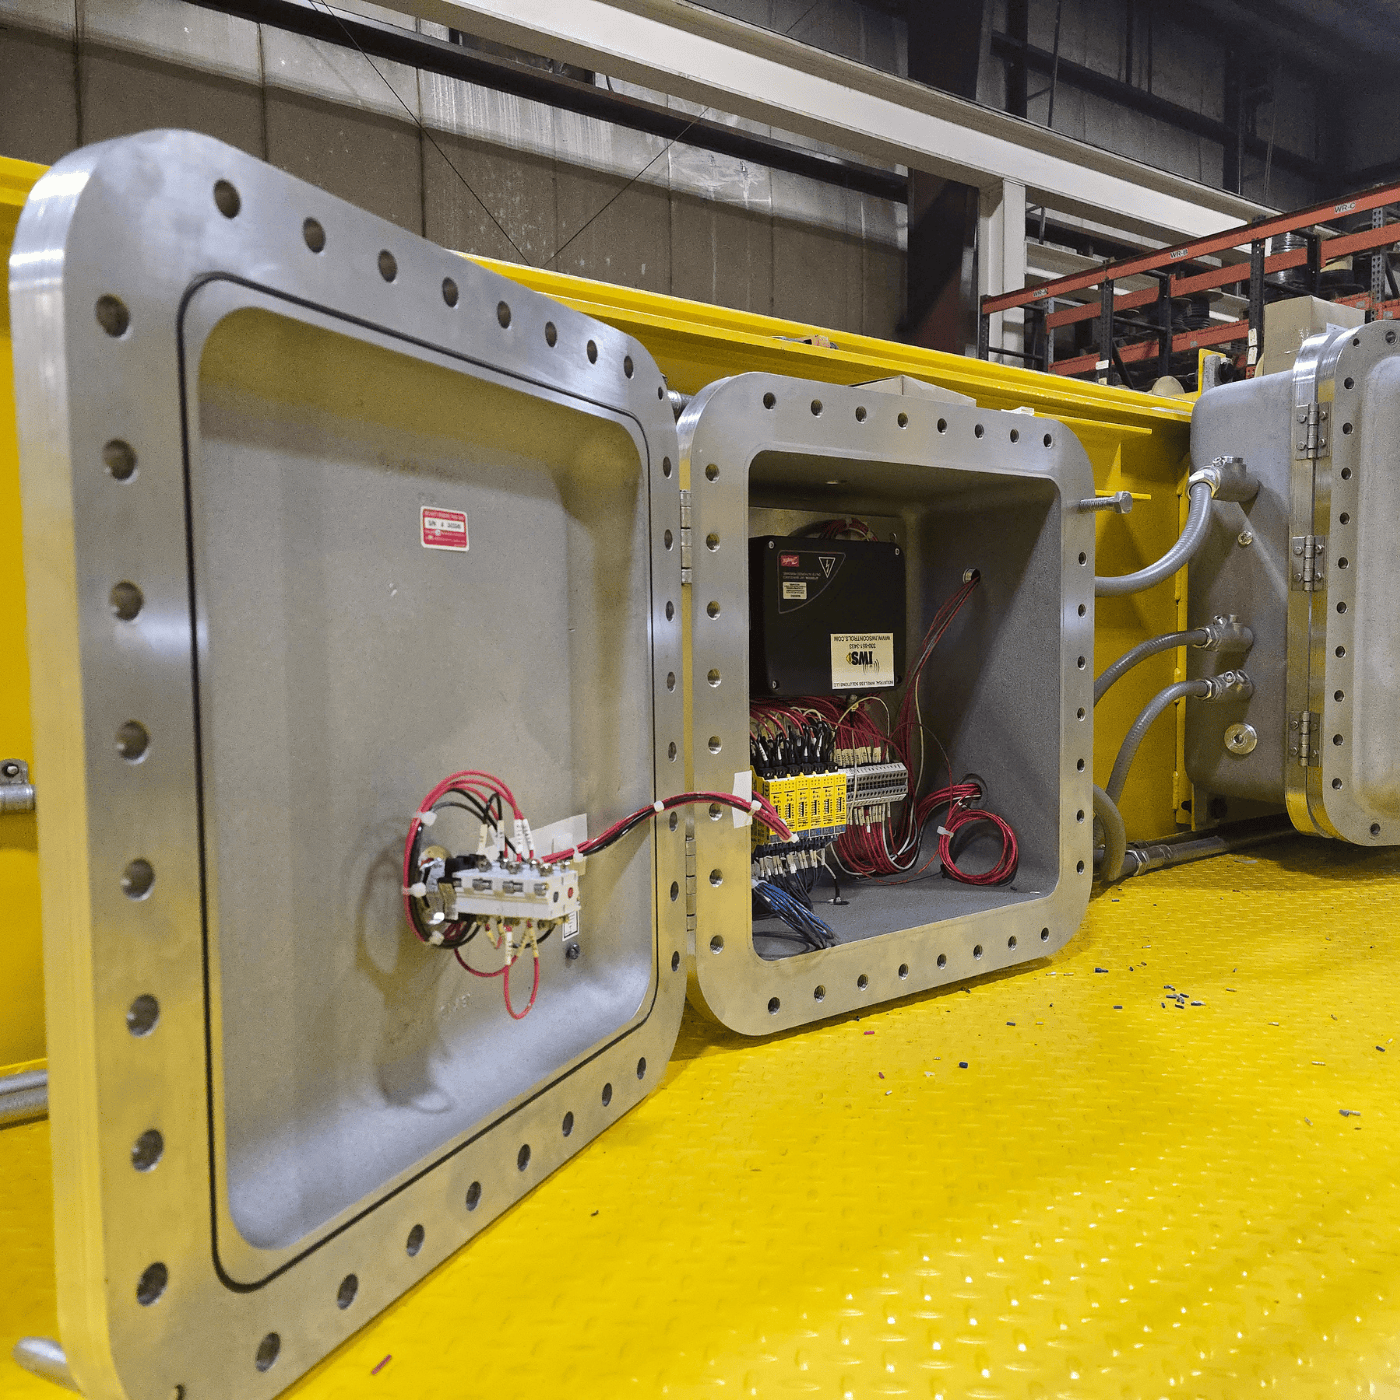
Step 6: Assembly and Controls Integration
Assembly is where mechanical structure meets electrical control. The bridge is set on its end trucks, the trolley and hoist are installed, and the control panels are mounted and wired.
Each motion is tested in sequence. The bridge travels down the runway. The trolley travels across the girders. The hoist lifts and lowers smoothly. The electrical team verifies that limit switches, emergency stops, and safety systems respond correctly.
Variable frequency drives are programmed for acceleration and deceleration so movement feels natural to the operator. The goal is precise, predictable control.
Optional features like sway control, auto-rotate load blocks, or data collection systems can also be integrated at this stage. These options have become more common as facilities look for better monitoring and preventive maintenance capabilities.
Our electrical team conducts a variety of control based testing in-house to confirm performance before shipment, which makes installation smoother and faster.
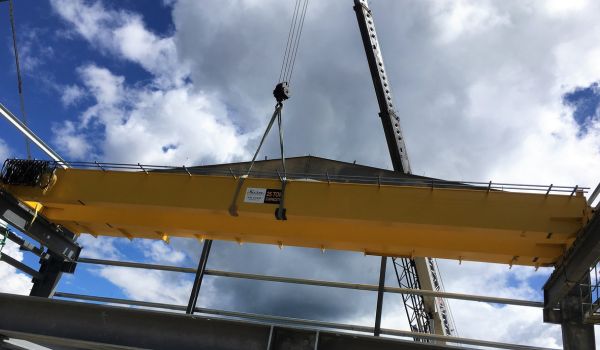
Step 7: Shipping & Handling
Once the packaged crane is complete and final checks are finished, the equipment is prepared for shipment. Components are staged, protected, and secured to prevent damage during transit, with careful attention given to large structural members, hoists, and electrical assemblies.
Packaging and handling methods are selected based on crane size, weight, and destination requirements. Shipments are coordinated to support efficient unloading at the jobsite and to align with installation schedules whenever possible.
This controlled shipping process helps ensure the crane arrives ready for installation, minimizing delays and reducing the risk of damage or rework once the equipment reaches your facility.
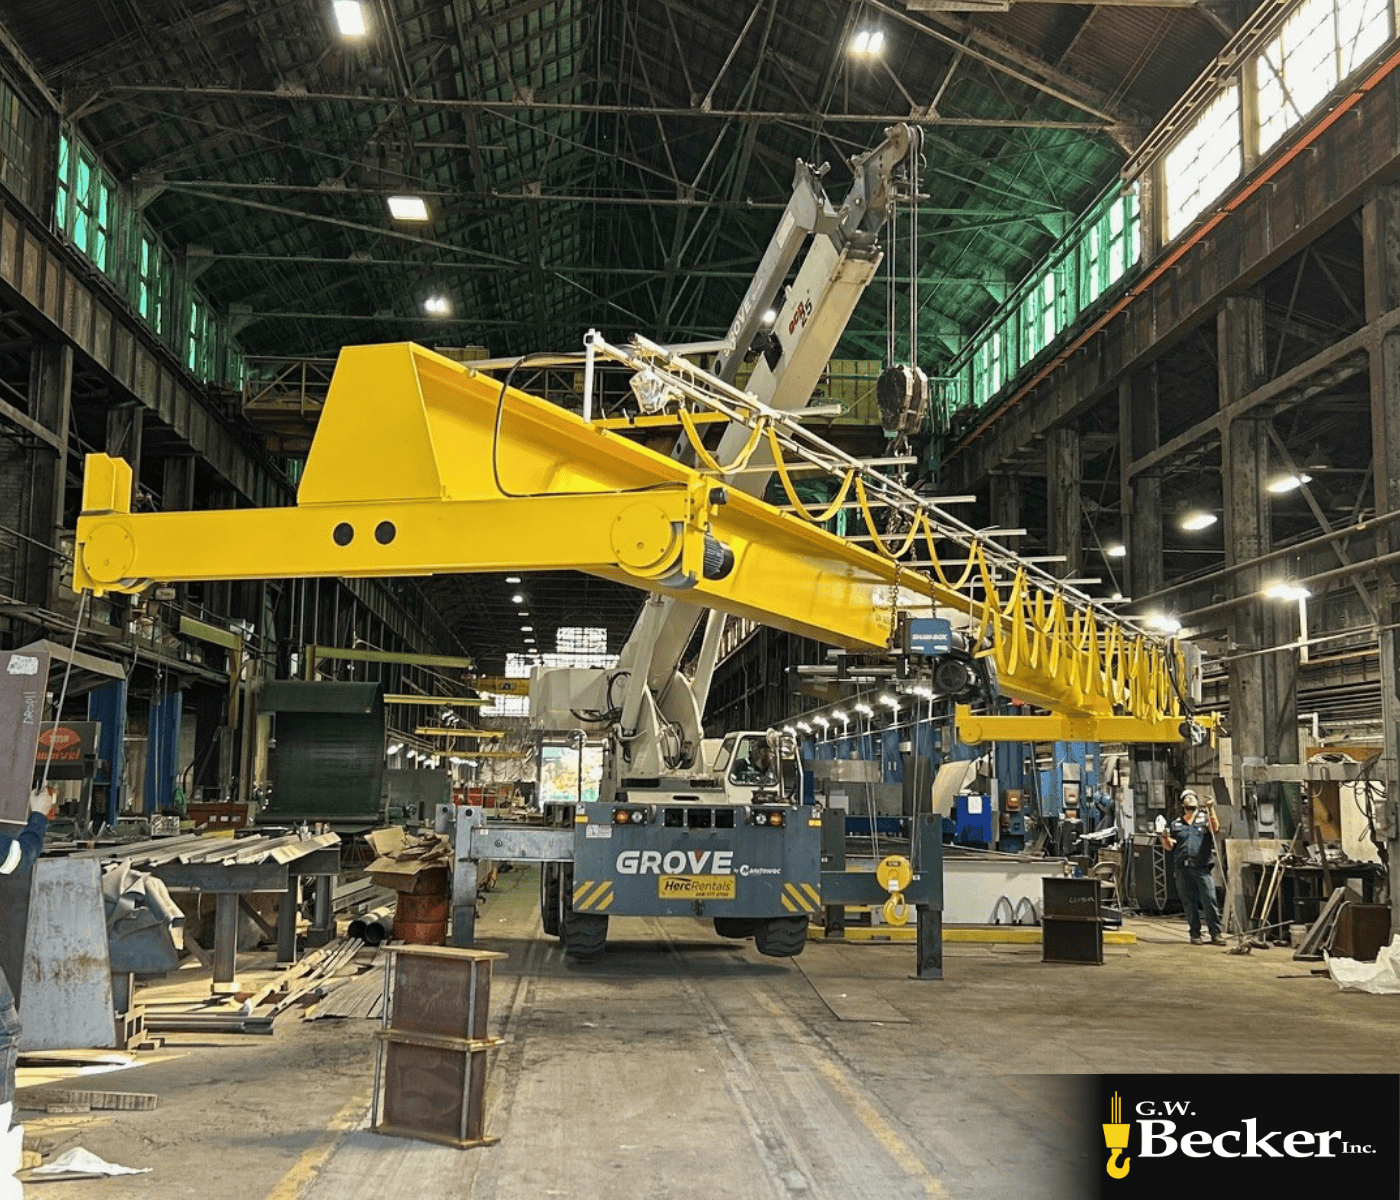
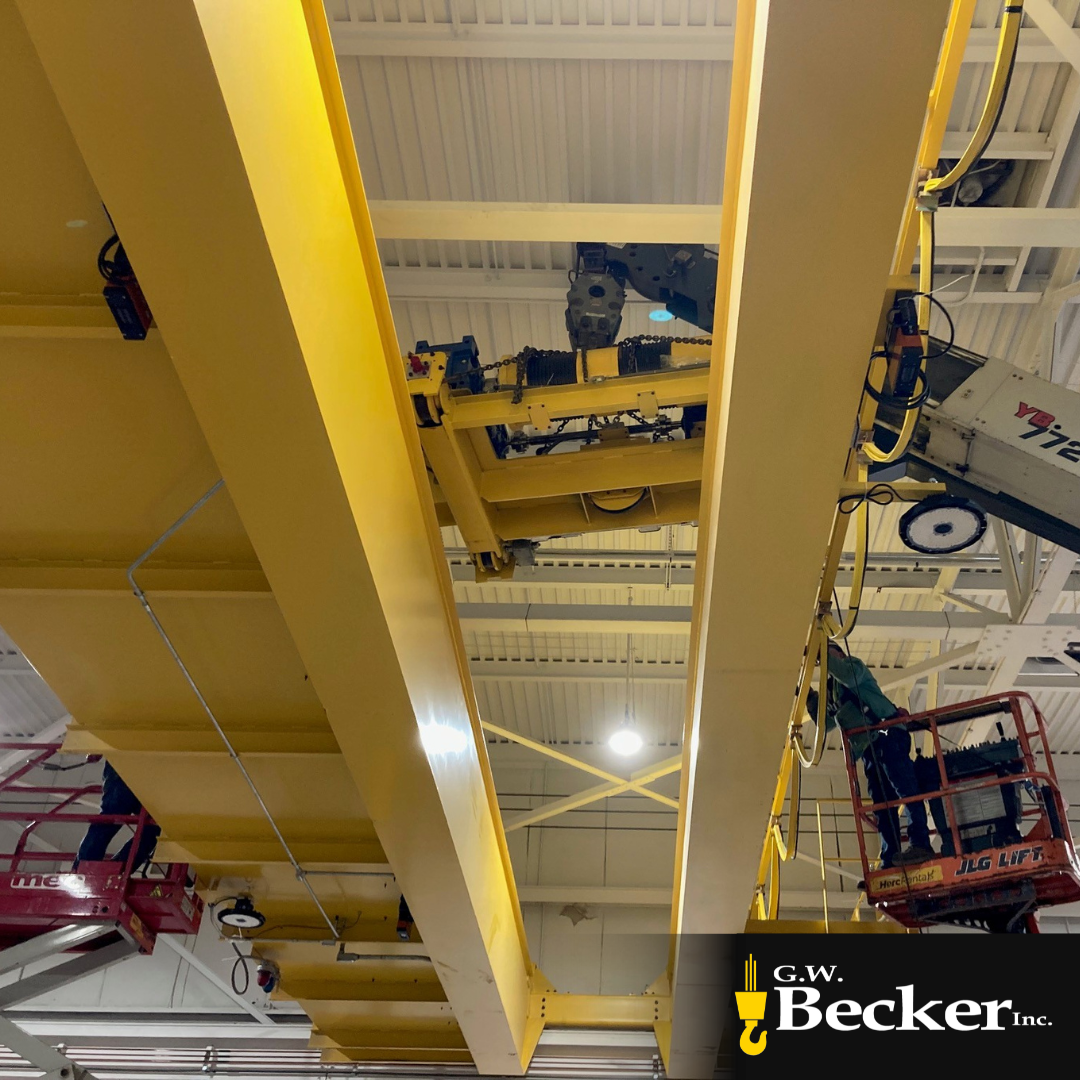
Step 8: Installation and Commissioning
When the overhead crane arrives on site, the field technicians take over.
Installation begins with runway checks. The girder(s) and trolley are then set in place, wiring and electrification are connected, and the system is powered for the first time in its new home.
Commissioning is about tuning the system. The technicians test motion, adjust settings, and verify braking and limit settings. They make sure the crane interacts safely with the building and other equipment.
Once everything runs as designed, the crane is ready for testing.
Step 9: Load Testing and Final Acceptance
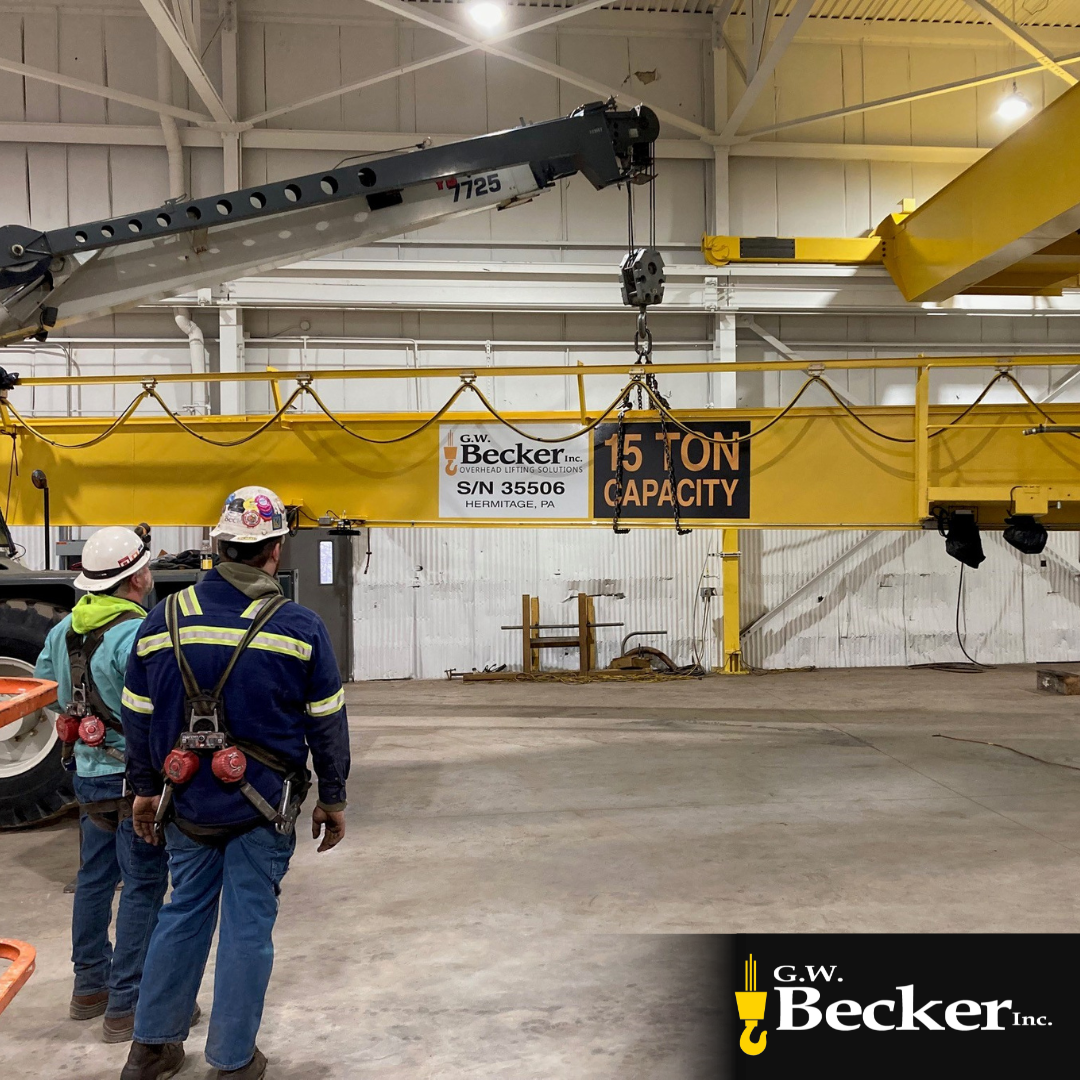
Before the crane can be used, it must pass a load test. This is both an OSHA safety requirement and a confirmation that the design performs as intended. OSHA and ASME B30.2 allow load testing up to 125 percent of the crane’s rated capacity, depending on the application and manufacturer recommendations.
During testing, technicians watch brake response and look for anything abnormal. The structure must flex within allowable limits and return to position without distortion.
Another test also confirms that all limit switches and overload devices work properly. Once the system passes, the results are documented and signed off.
Afterward, operators receive hands-on training. They learn proper control use, daily inspection points, and safe lifting practices. By the end, everyone involved understands the equipment and its performance limits.
")
Step 10: Long-Term Reliability
An overhead crane is built for long-term use, but reliability depends on care. Regular inspections, lubrication, and maintenance keep cranes safe and compliant.
G.W. Becker Inc. can provide inspections and service throughout the life of the crane, but the real benefit comes from how the system was designed. Components are accessible, wiring is labeled, and documentation is provided. This makes troubleshooting and modernization easier years down the road.
When it’s time to expand or upgrade, the existing crane structure can often be adapted instead of replaced entirely. That’s what smart engineering allows.
Operator training is also an essential part of any safe and efficient crane program. G.W. Becker, Inc. offers documented, OSHA-compliant training backed by decades of manufacturing and service experience to help your team operate equipment confidently and responsibly.
What Matters Most in a Crane Project
Understanding how an overhead crane is built helps anyone involved in planning or operations see what truly matters. Each phase, from defining the scope through final testing, determines how the crane will perform years down the line. When one of those steps is rushed or skipped, the result is usually downtime, alignment issues, or expensive repairs later.
When planning a new system or modernization, it helps to think like an engineer. Ask questions that define quality early instead of after installation. What CMAA class fits the application? How will the crane interact with the runway and other equipment? What documentation or test reports will be provided when the project is done?
A dependable overhead crane is the product of hundreds of careful decisions. Getting those details right from the beginning is what keeps the system safe, smooth, and reliable for years to come.